React is one of the most popular frontend frameworks out there and more developers are increasing learning how to build real-life applications with React. While learning React, you will eventually get to a point when you need to integrate APIs in your React application. This short guide will help you understand a few concepts you need to know so as to integrate a RESTful API in a React application.
We will be building a simple contact list application to display the contact's name, email and we will store a catchphrase of a contact. We will make use of this endpoint, it contains a JSON dump of data needed for our contact list application.
Prerequisites
- Basic knowledge of React (versions >=2.1.1)
- Basic understanding of JavaScript
- Basic understanding of APIs
- Must have NPM installed on your local machine (versions >= 5.2)
Setting up our environment
Install create-react-app
We will be creating our React Application using a neat tool called create-react-app, this is a boilerplate that helps you set up a proper folder structure and assets binding for your React application. Run this command on your terminal.
npm i create-react-app
Create a new Project
Next, we will create a new project using create-react-app. So you can switch into your preferred directory and run this command on your terminal.
npx create-react-app react-api
npxis a tool to help execute packages, you can read more about it here
This will generate some scaffolds you need to get your React application running as quick as possible.
Next, run the application using the following command.
npm start
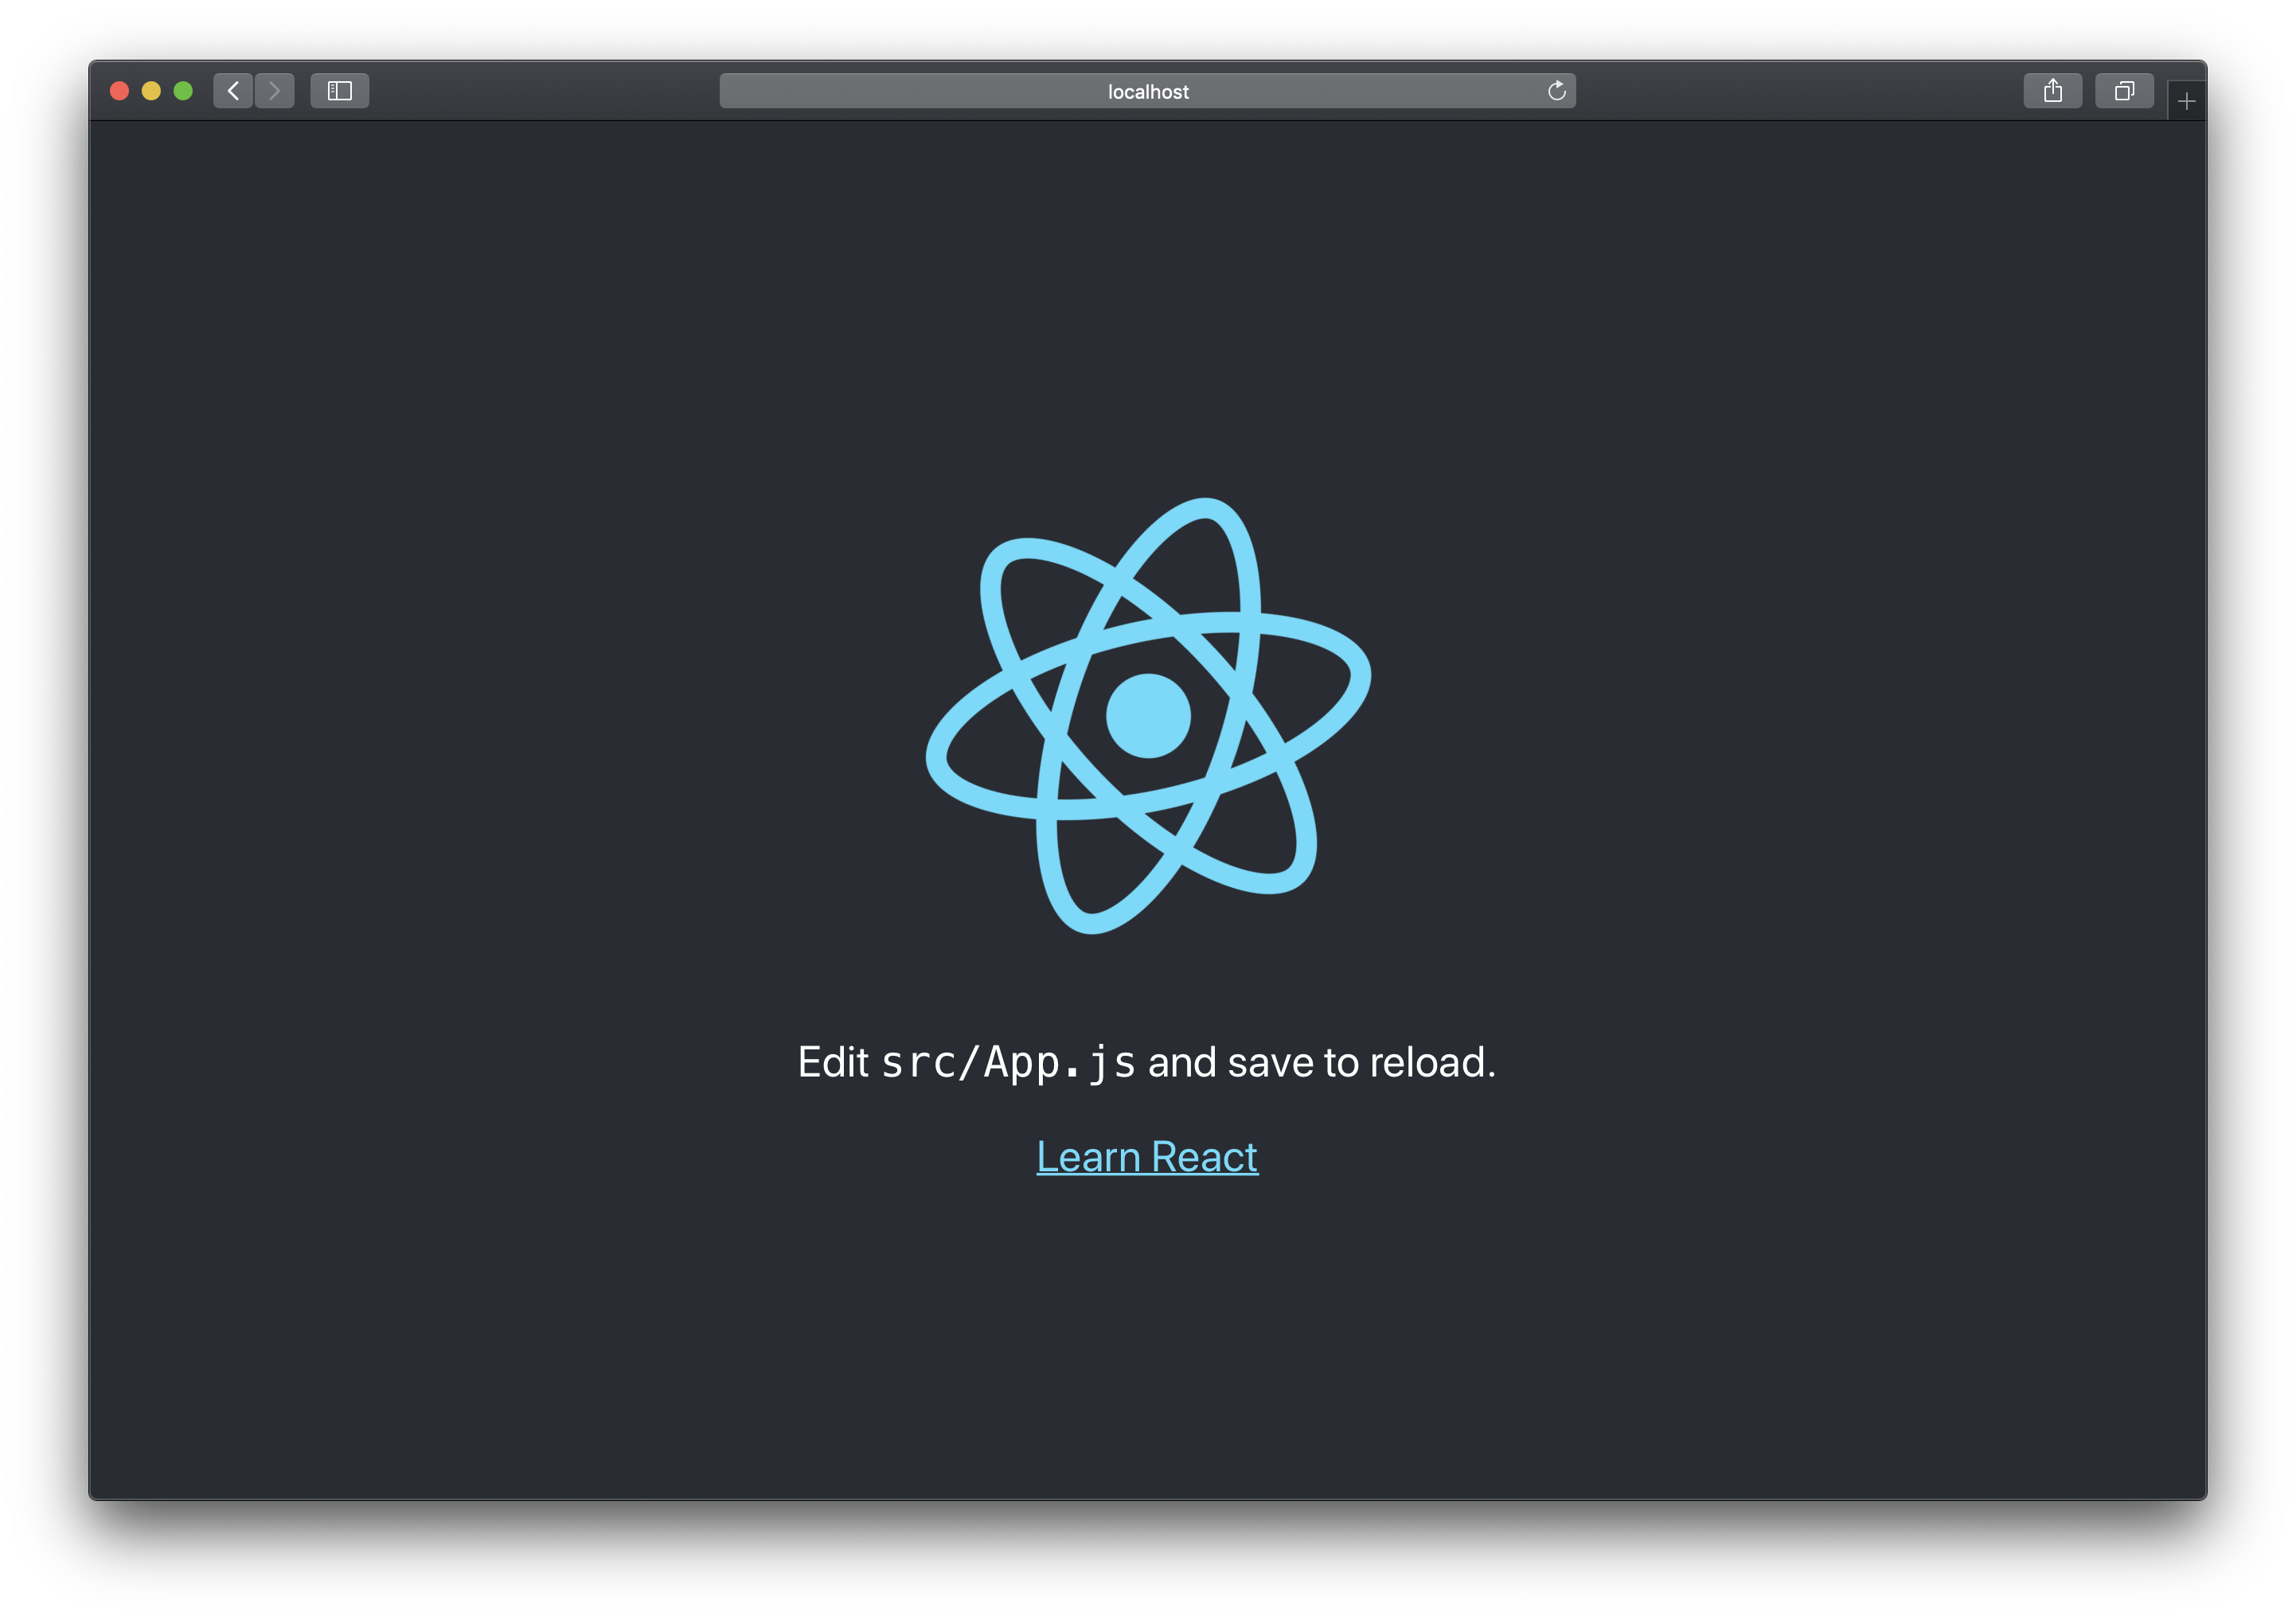
This will automatically open http://localhost:3000 on your browser and you will get the default create-react-app homepage.
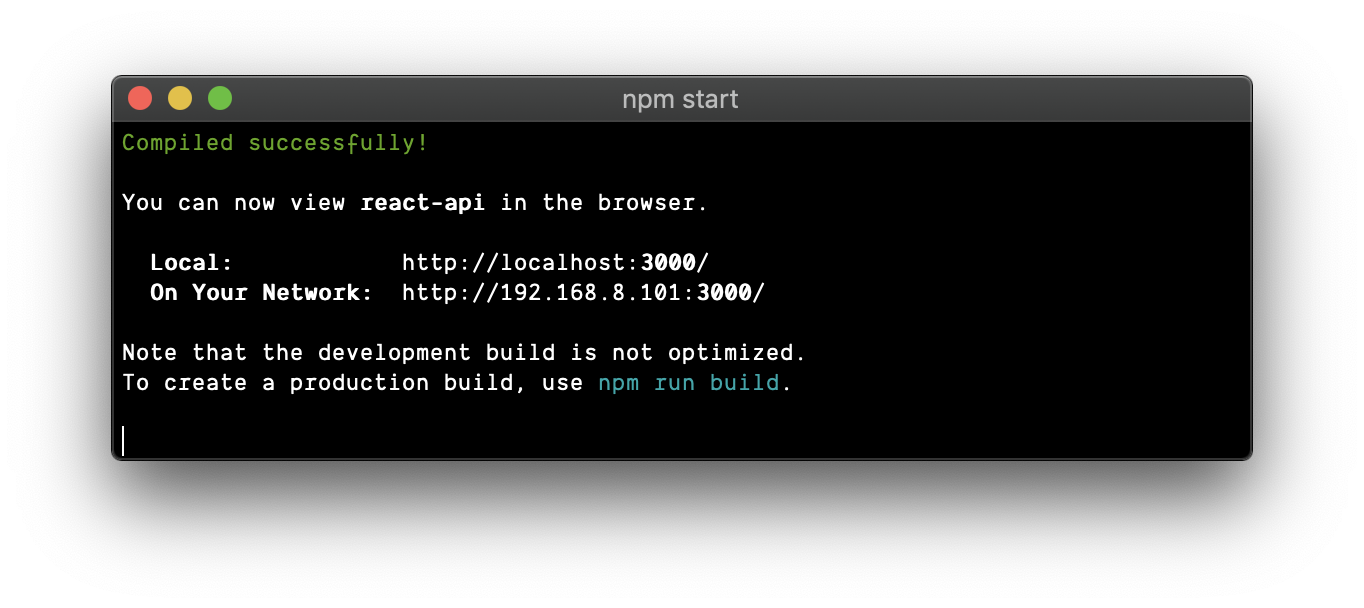
To access the application on any device you have connected on the same network, you can access it via
http://<your-host-machine-ip>:3000which will be shown to you in terminal.
Project setup
The next step is to modify the App.js file located in the src folder to look like this.
If you noticed, we got rid of import logo from './logo.svg'; and import './App.css'; along with the JSX in the render() method because we will not be needing those in the course of this tutorial.
Setting up bootstrap
Next, we have to link bootstrap's CDN in the index.html file which can be found in the public folder.
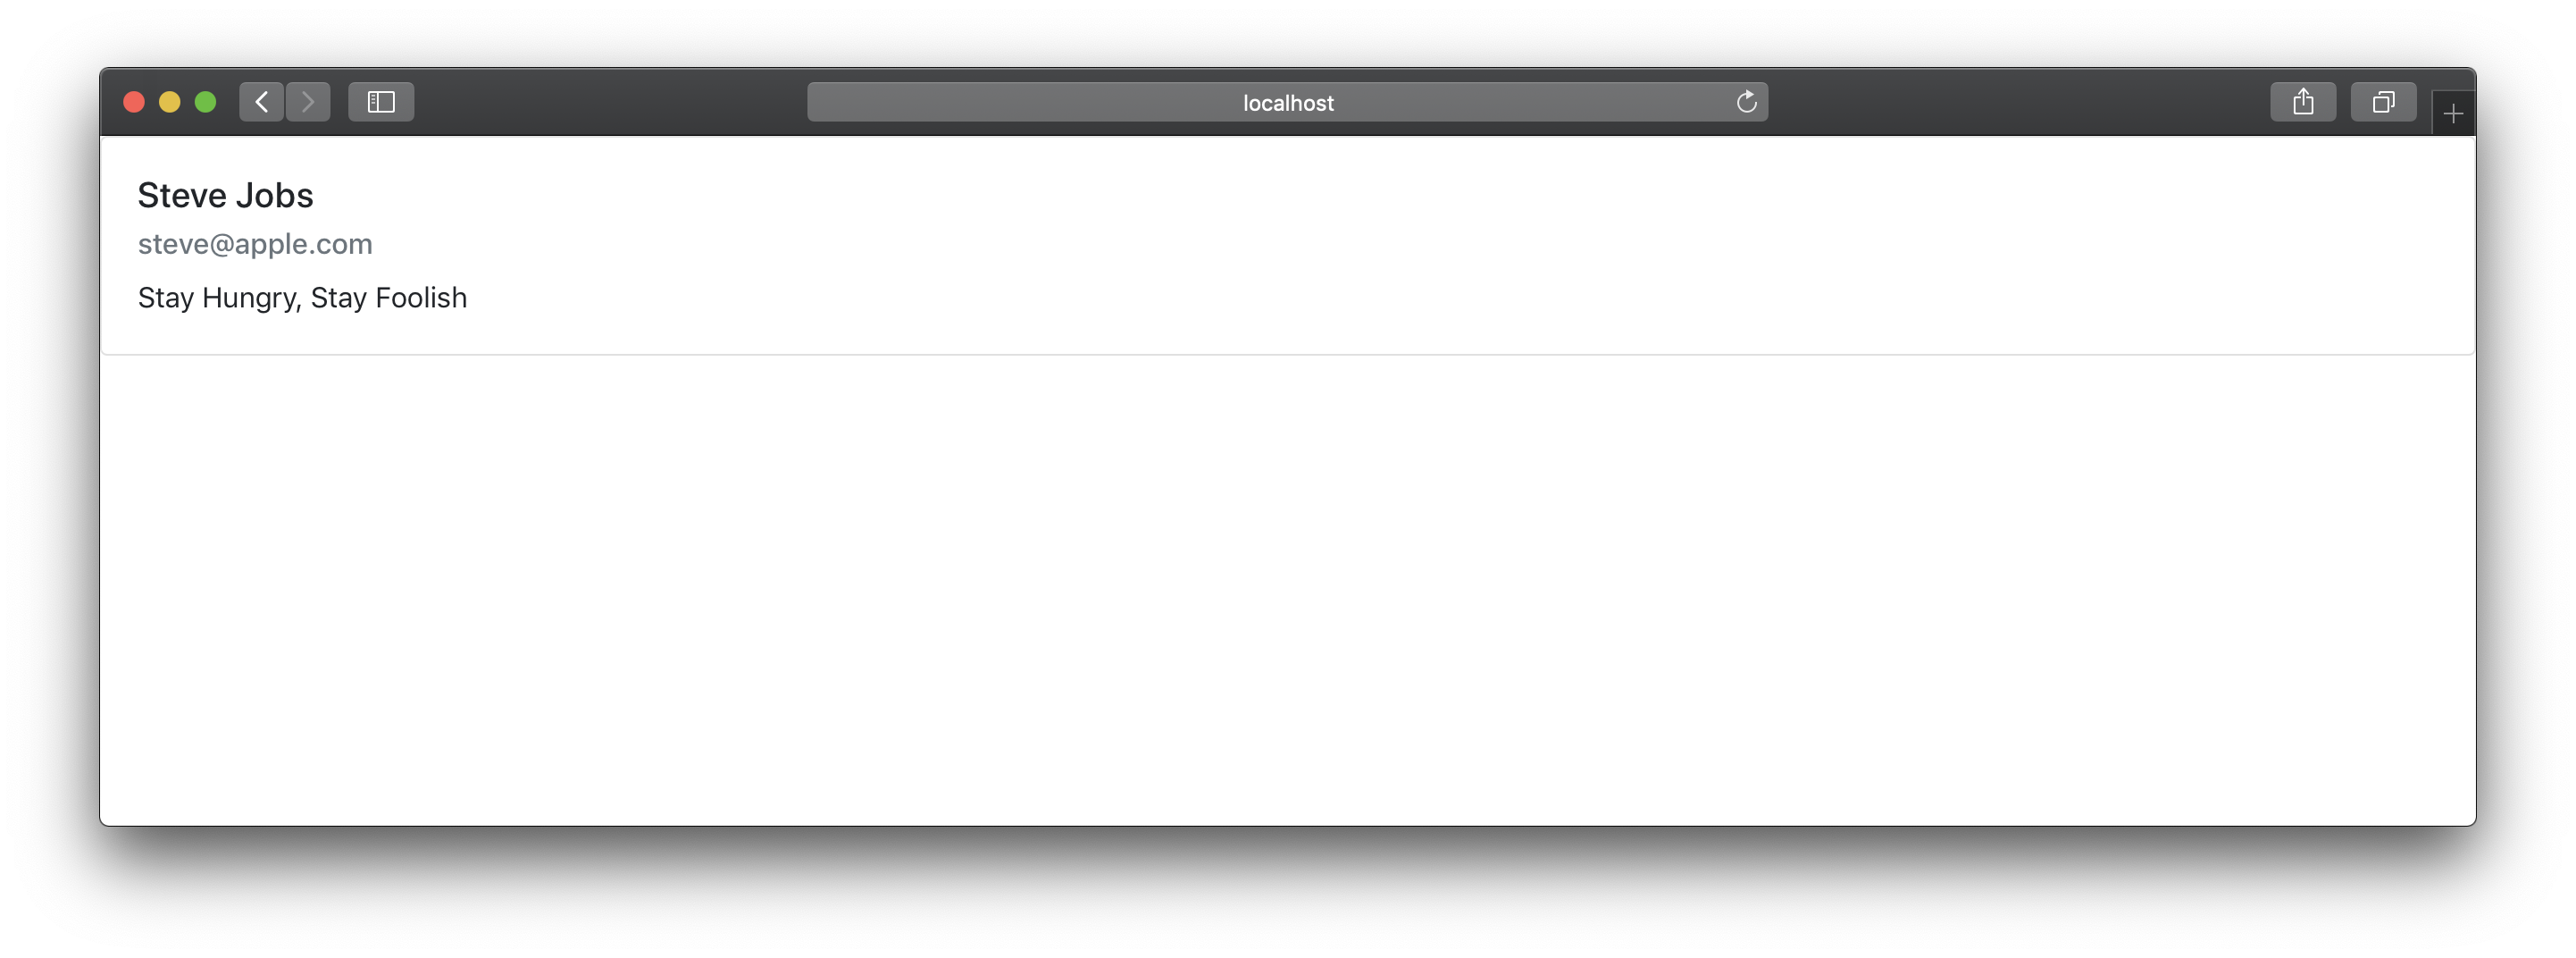
When this is done we will render a bootstrap card in the App.js file by including this snippet in the return() method.
If we reload our application the following changes will reflect showing the contact's name, email and catchphrase in a bootstrap card.
Feeding dynamic data from the API
Most modern web applications make use of the REST Protocol to communicate with each other. To achieve this, data is sent as JSON (JavaScript Object Notation) to the API. In turn, the API returns a JSON payload which can be static or dynamic data. Our application will parse and display the data in a presentable manner, making it appealing to the user.
Below is a typical JSON response from the contact list dump:
Creating a state
A state is simply an object that holds data pending to be rendered. This is where we will store the output from the API call.
In the snippet above we have created a state to store the output from our API request.
Calling the API
To fetch our contact list, we will use a componentDidMount() method in our App.js file. This method is executed immediately our component is mounted and we will also make our API request in that method.
fetch('http://jsonplaceholder.typicode.com/users') will make a GET request to the endpoint .then(res => res.json()) parses the output to JSON, .then((data) => {this.setState({ contacts: data })}) sets the value of our state to the output from the API call and finally .catch(console.log) logs any error we get to the console.
Creating our contacts component
Next up, we will create a component to render the results as cards. To achieve this we will create a component by creating a new sub-folder named components in the src directory followed by creating a contacts.js file in the components directory by running:
$ mkdir src/components
$ touch src/components/contacts.js
The contents of the contacts.js component file will be the following:
The Contacts method accepts the contacts state we created earlier and then returns a mapped version of the state, which loops over the bootstrap card to insert the contact's name, email and catchphrase.
Rendering the contacts component
The final step to this application is to render our component in src/App.js. To do this, we have to import the component into App.js.
Then in our render method, we have to clear out whatever we had there before and pass our component along with the contacts state in there for it to be rendered.
Running our application
If you don't already have your application running, you can run it by using the npm start command.
This will open your browser for you to view the application or show you some errors if you missed anything. You can visit directly by accessing http://localhost:3000. If port 3000 is already in you will be prompted to change the port.
Conclusion
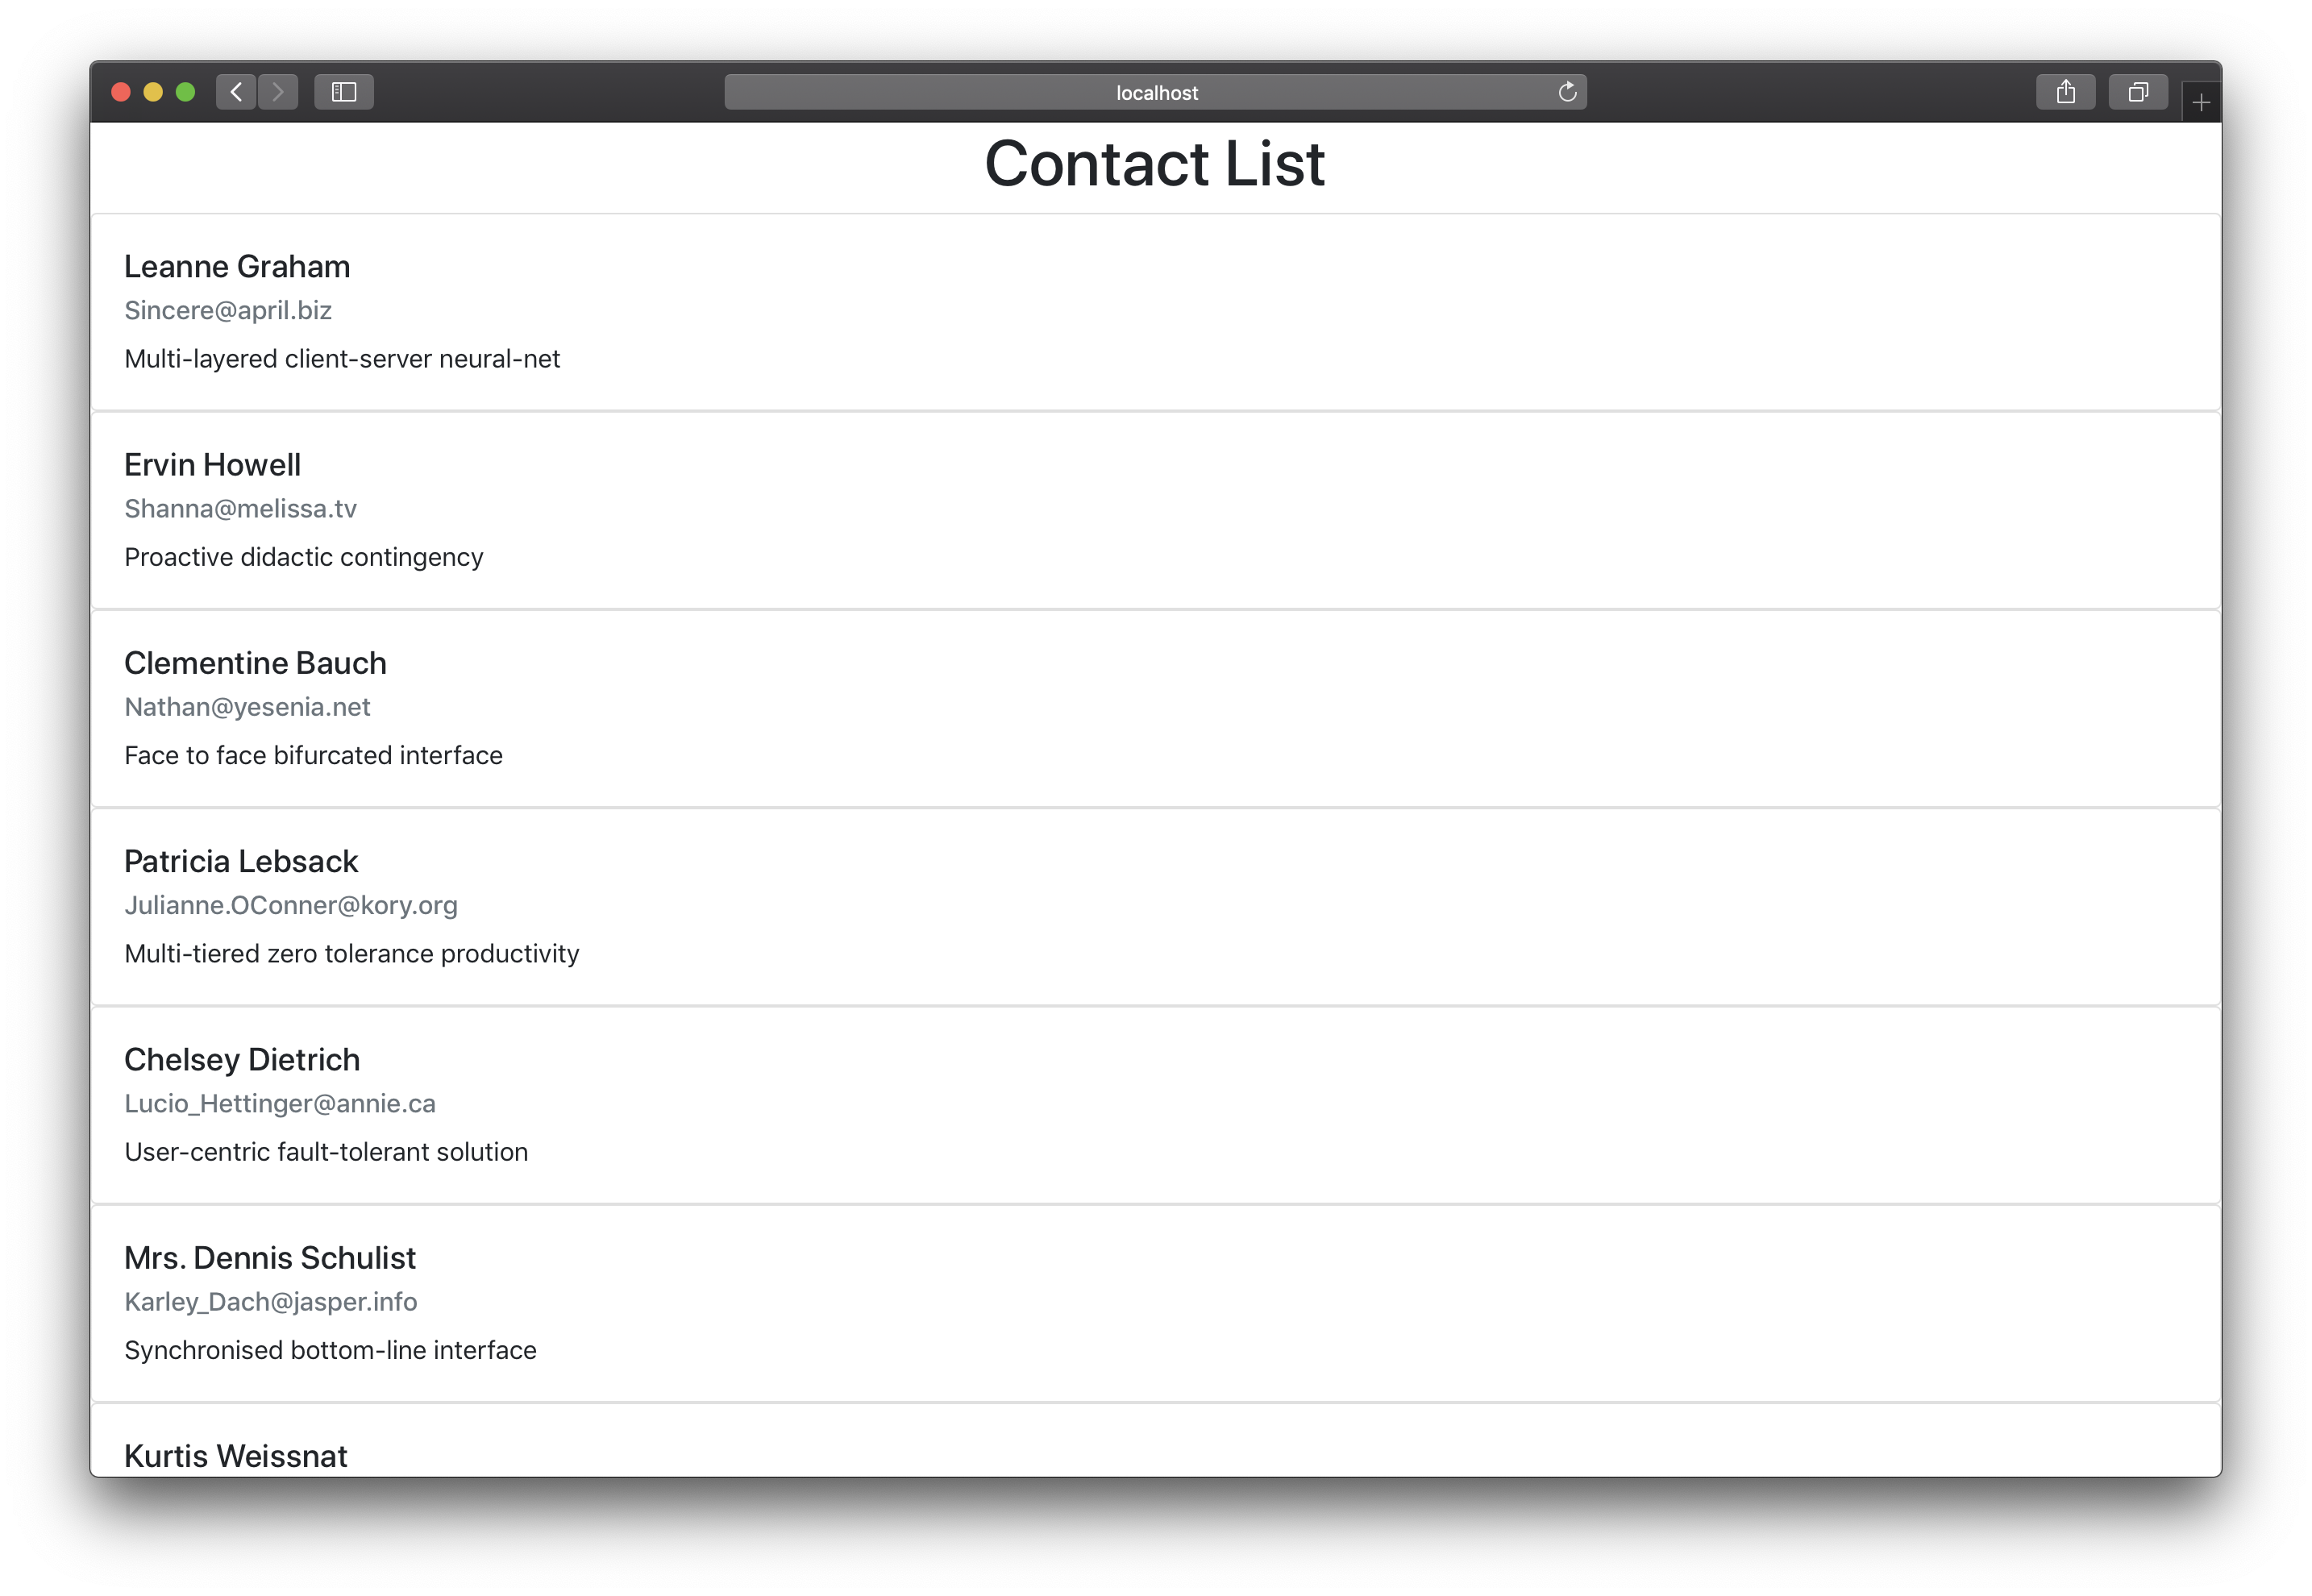
In this tutorial, we built a simple contact list web page, that displayed contact details. We called a RESTful API, and we displayed the response to the browser using React. We also covered how the componentDidMount() method works, how state works, how components works and how to fetch data from an API and parsing the data to a component.
You can learn more about React from the official documentation here. The source code to the application in this article is available on GitHub.
This post was originally posted on Pusher.